In today’s digital age, securing your home network is more important than ever. One of the first steps in enhancing your network security is configuring your router’s IP address. This article will guide you through the process, ensuring that you can protect your personal information and enjoy a safer online experience.
Understanding Your Router’s IP Address
Before diving into the configuration process, let’s clarify what an IP address is. An IP address (Internet Protocol address) is a unique identifier assigned to your router, allowing devices on your network to communicate with each other and access the internet. By default, most routers come with a standard IP address, which can be a security risk if left unchanged.
Why Change Your Router’s IP Address?
Changing your router’s IP address can significantly enhance your network security. Here are a few reasons why:
- Prevent Unauthorized Access: Default IP addresses are widely known, making it easier for hackers to gain access to your network.
- Reduce the Risk of Attacks: By changing your IP address, you can make it harder for attackers to target your router.
- Improve Privacy: A unique IP address can help obscure your network from prying eyes.
Steps to Configure Your Router’s IP Address
Now that we understand the importance of changing your router’s IP address, let’s walk through the steps to do it.
Step 1: Access Your Router’s Admin Panel
To change your router’s IP address, you first need to access its admin panel. Here’s how:
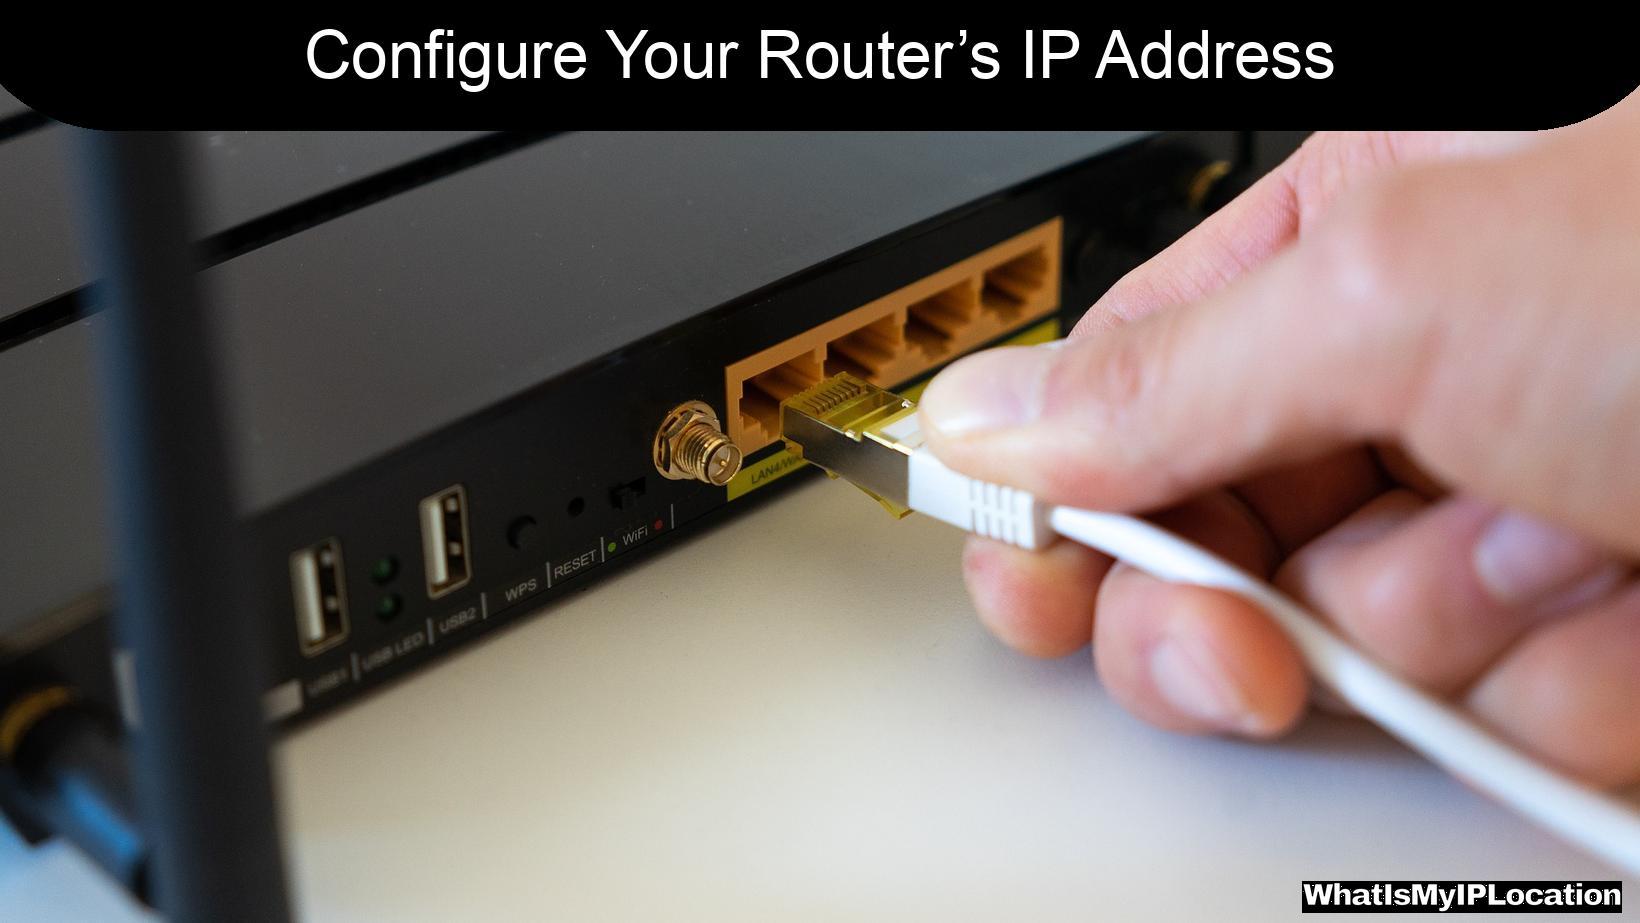
- Connect to Your Network: Make sure your device is connected to the router, either via Wi-Fi or an Ethernet cable.
- Open a Web Browser: Launch your preferred web browser.
- Enter the Router’s IP Address: Type the default IP address into the address bar. Common default addresses include:
- 192.168.1.1
- 192.168.0.1
-
10.0.0.1
-
Log In: Enter your admin username and password. If you haven’t changed these, they may still be set to the default values (often found on a sticker on the router).
Step 2: Locate the IP Address Settings
Once you’re logged in, navigate to the settings where you can change the IP address. This is usually found under sections labeled “Network,” “LAN,” or “IP Address.”
Step 3: Change the IP Address
- Select a New IP Address: Choose a new IP address for your router. It’s best to select an address that is not commonly used. For example, instead of using 192.168.1.1, you could use 192.168.1.100.
- Update the Subnet Mask: The subnet mask usually remains 255.255.255.0, but ensure it matches your new IP address.
- Save Changes: After entering the new IP address, make sure to save your changes.
Step 4: Reboot Your Router
To apply the changes, you’ll need to reboot your router. This can usually be done through the admin panel or by physically unplugging the router and plugging it back in.
Step 5: Update Your Device Settings
After changing your router’s IP address, you may need to update the settings on your connected devices. Here’s how:
- Reconnect to the Network: Disconnect and reconnect to your Wi-Fi network.
- Update Static IPs: If you have devices with static IP addresses, ensure they are updated to reflect the new router IP.
Additional Security Measures
Changing your router’s IP address is just one step in securing your network. Here are some additional measures you can take:
1. Change the Default Username and Password
One of the easiest ways for hackers to access your router is through default login credentials. Change your admin username and password to something unique and complex.
2. Enable WPA3 Encryption
Ensure your Wi-Fi network is secured with WPA3 encryption. This is the latest and most secure Wi-Fi encryption standard available.
3. Disable Remote Management
If you don’t need to access your router from outside your home network, disable remote management features. This reduces the risk of unauthorized access.
4. Keep Firmware Updated
Regularly check for firmware updates for your router. Manufacturers often release updates to fix security vulnerabilities.
5. Use a Guest Network
If you have visitors who need internet access, consider setting up a guest network. This keeps your main network secure while allowing guests to connect.
Troubleshooting Common Issues
After changing your router’s IP address, you may encounter some issues. Here are a few common problems and their solutions:
| Issue | Solution |
|---|---|
| Can’t access the admin panel | Ensure you’re using the new IP address. |
| Devices can’t connect | Restart your router and reconnect devices. |
| Internet connection drops | Check your ISP connection and reboot the modem. |
Conclusion
Configuring your router’s IP address is a crucial step in enhancing your home network security. By following the steps outlined above, you can significantly reduce the risk of unauthorized access and protect your personal information. Remember, security is an ongoing process, so stay vigilant and keep your network updated.
By taking these proactive measures, you can enjoy a safer online experience and have peace of mind knowing that your network is secure. Happy surfing!