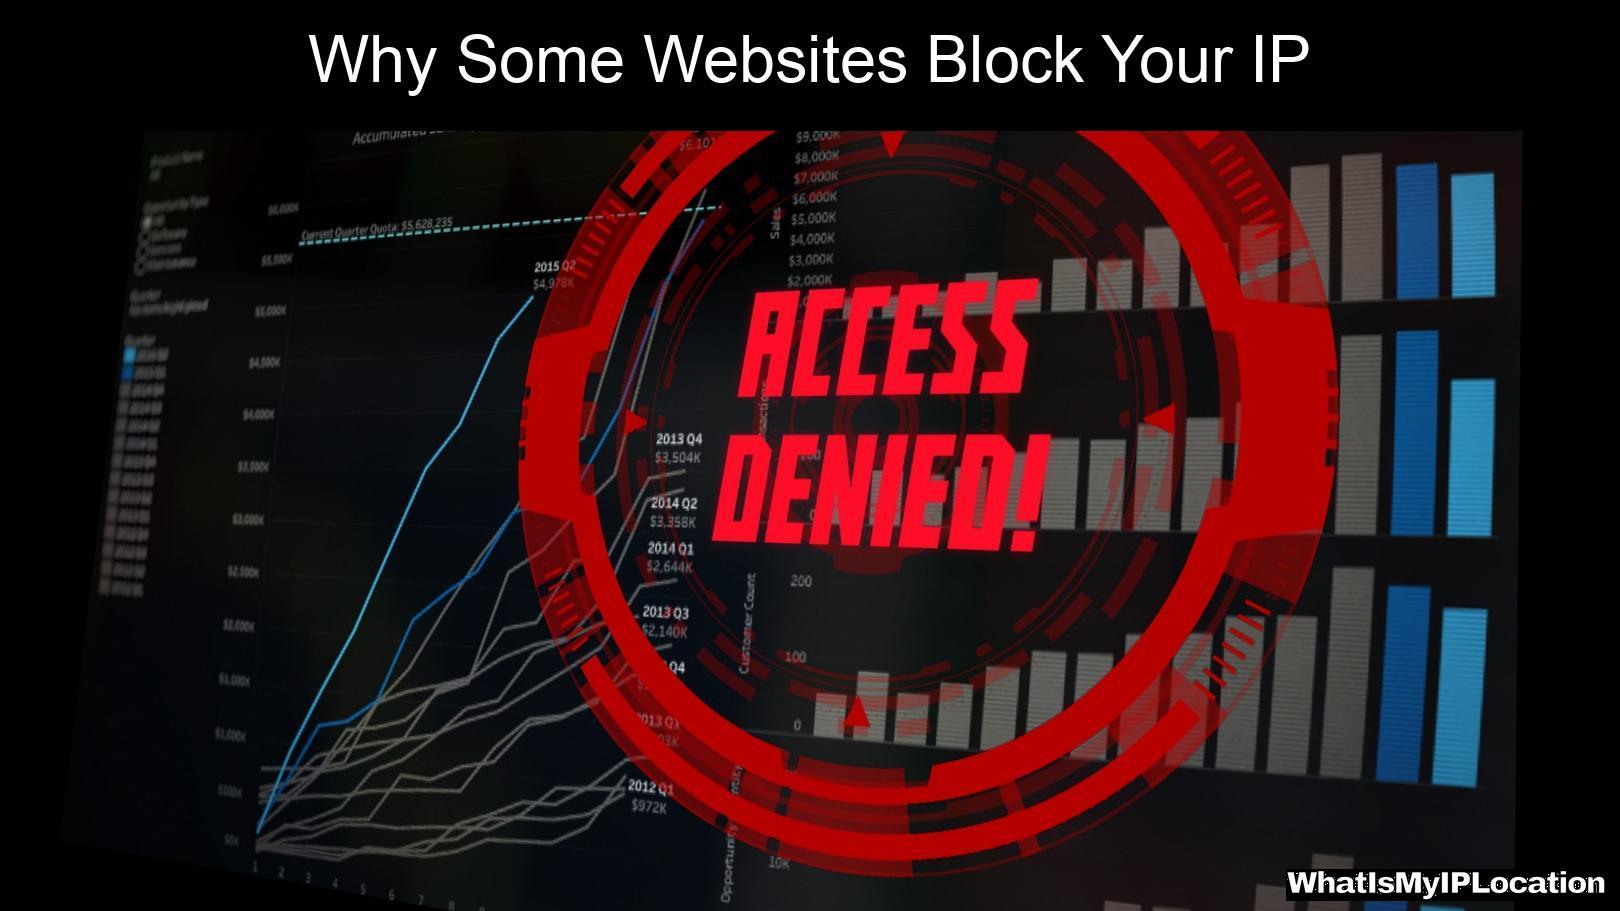
Have you ever tried to access a website only to be met with an error message saying your IP address has been blocked? It can be frustrating, especially when you just want to browse the internet freely. In this article, I will delve into the reasons why websites block IP addresses and provide practical solutions to help you regain access.
What is an IP Address?
Before we dive deeper, let’s clarify what an IP address is. An IP (Internet Protocol) address is a unique identifier assigned to each device connected to the internet. It functions like your home address, directing data to and from your device. When you visit a website, your IP address is visible to the server, which can use it for various purposes, including security and analytics.
Why Do Websites Block IP Addresses?
There are several reasons why a website might block your IP address. Understanding these reasons can help you avoid similar situations in the future.
1. Security Concerns
Websites often block IP addresses that exhibit suspicious behavior. This includes:
- Excessive Requests: If your IP makes too many requests in a short time, the website may perceive this as a DDoS (Distributed Denial of Service) attack.
- Malicious Activity: If your IP has been associated with hacking attempts or other forms of cybercrime, it could be blacklisted.
2. Geographical Restrictions
Some websites restrict access based on geographical locations. For instance, streaming services may block users from certain countries to comply with licensing agreements.
3. Spam and Abuse Prevention
Websites implement measures to prevent spam and abuse. If your IP address is linked to spamming, it may be blocked to protect the integrity of the site.
4. User Behavior
If users from your IP address frequently violate a website’s terms of service, the site may choose to block that IP to maintain a safe environment for other users.
5. Shared IP Addresses
If you are using a shared IP address (common in public Wi-Fi networks), and someone else using that same IP engages in malicious activities, you may inadvertently get blocked.
How to Know if Your IP Address is Blocked
If you suspect your IP address is blocked, here are a few signs to look out for:
- Access Denied Messages: You may see messages like “403 Forbidden” or “Your IP has been blocked.”
- Inability to Access Specific Websites: If you can access some sites but not others, it could indicate a block.
- Network Errors: Frequent network errors when trying to access certain sites may suggest an IP block.
How to Fix a Blocked IP Address
If you find yourself in a situation where your IP address is blocked, don’t panic. Here are some effective methods to regain access:
1. Reboot Your Modem/Router
Sometimes, simply rebooting your modem or router can resolve the issue. Here’s how:
- Turn off your modem and router.
- Unplug them from the power source.
- Wait for at least 10 seconds.
- Plug them back in and turn them on.
2. Use a VPN
A VPN (Virtual Private Network) can mask your IP address by routing your internet traffic through a different server. This way, you can access websites without revealing your actual IP address. Here’s how to set it up:
- Choose a reliable VPN service (e.g., NordVPN, CyberGhost).
- Download and install the VPN application.
- Connect to a server location of your choice.
- Try accessing the blocked website again.
3. Check for Malware
Sometimes, malware on your device can cause your IP to get flagged. Running a malware scan can help. Here’s how to do it on Windows:
- Click on the Start menu and type “security.”
- Open Windows Security.
- Click on Virus & threat protection.
- Run a Quick scan.
4. Clear Your Browser Cache
Clearing your browser’s cache can resolve access issues. Here’s how to do it:
- Open your browser settings.
- Navigate to the Privacy and Security section.
- Find the option to Clear browsing data and select it.
- Make sure to check the boxes for cached images and files.
- Click Clear data.
5. Contact the Website Administrator
If you believe your IP was blocked in error, you can contact the website’s support or administrator. Provide them with your IP address and explain the situation. They may be able to unblock you.
6. Change Your IP Address
If all else fails, you can change your IP address. Here are a few methods:
- Reconnect to your ISP: Disconnecting and reconnecting to your internet service provider may assign you a new IP address.
- Use a Different Network: Switching to a different Wi-Fi network (e.g., mobile data or a friend’s network) can also help.
7. Check Blacklist Status
You can check if your IP address is on a blacklist using online tools like MXToolbox. If it is, follow the delisting instructions provided by the blacklist service.
Preventing Future IP Blocks
To avoid getting your IP address blocked in the future, consider these preventive measures:
1. Limit Your Requests
Avoid making too many requests to a website in a short period. Be mindful of how often you refresh pages or submit forms.
2. Follow Website Guidelines
Always adhere to the terms of service of the websites you visit. This includes not engaging in spammy behavior.
3. Use a VPN Regularly
Using a VPN not only helps when your IP is blocked but also enhances your online privacy and security.
4. Maintain Device Security
Keep your device secure by regularly updating your operating system and software, and running antivirus scans.
5. Avoid Public Wi-Fi for Sensitive Activities
Public Wi-Fi networks can expose you to security risks. If you must use them, consider using a VPN.
Conclusion
Getting your IP address blocked can be a frustrating experience, but understanding the reasons behind it and knowing how to fix it can help you navigate the situation effectively. By following the tips and solutions outlined in this article, you can regain access to your favorite websites and prevent future blocks. Remember, the internet is vast and full of resources, and with the right approach, you can explore it freely and safely.